Introduction
Emsisoft Anti-Malware, or EAM, is a malware removal program that is designed to be used alongside your normal anti-virus solution. We have found that EAM is a great companion program to perform regular scans with to make sure no infections slipped through your regular anti-virus program. Emsisoft is successful because they are able to stay on top of the latest malware and issue updated definitions very quickly to protect you. In fact, we like Emsisoft Anti-Malware so much that we have been using the software in our virus removal guides alongside other security programs.
With this said, we feel that Emsisoft Anti-Malware is an important tool to have as part of your computer's security toolbox. Even better, the program is 100% free to scan and remove infections. For those, who want more advanced features, such as real-time protection, you can purchase the full commercial version. This guide will walk you through installing, configuring, and scanning your computer with Emsisoft Anti-Malware.
How to install, upgrade, and scan your computer for the first time with Emsisoft Anti-Malware
This section of the tutorial will walk you through installing Emsisoft Anti-Malware and performing a scan for the first time. To start, please download and save the Emsisoft Anti-Malware setup program to your desktop from the link below:

Emsisoft Anti-Malware
The download is fairly large, so please be patient while it downloads.
Once the file has been downloaded, double-click on the EmsisoftAntiMalwareSetup.exe icon on your desktop to start the installation program. If Windows Smart Screen issues an alert or you see a User Account Control prompt, please allow the program to run.
When the installation program starts you will be shown a license agreement. Please read the agreement and if your comfortable with it, click on the Yes option to indicate that you agree with it and then select the Install button. The installation program will now copy the Emsisoft Anti-Malware files to your computer and when it's finished will display a screen asking what type of license you wish to use as shown below.
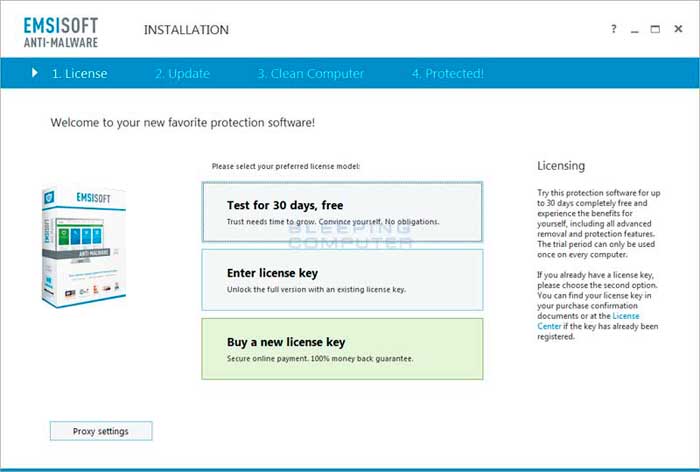
If you have an existing license key or want to buy a new license key, please select the appropriate option. Otherwise, select the Test for 30 days, free option. If you receive an alert after clicking this button that your trial has expired, just click on the Yes button to enter freeware mode, which still allows scanning and cleaning of infections.
You will now be at a screen asking if you wish to join Emsisoft's Anti-Malware network. The Emsisoft Anti-Malware Network is a statistical service that allows Emsisoft to see what web sites and malware are commonly being found.
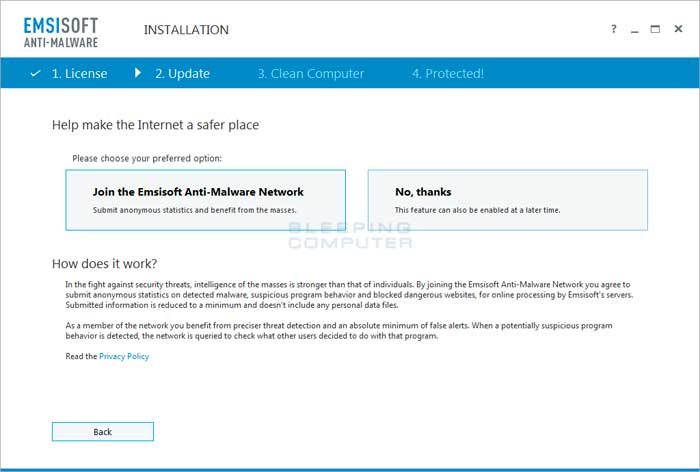
If you wish to have no information sent back to Emsisoft please select the No, thanks option. On the other hand, if you want to contribute anonymous information to Emsisoft Anti-Malware and also benefit from possibly enhanced detections, please select Join the Emsisoft Anti-Malware Network.
Emsisoft Anti-Malware will now begin to download and install the latest malware definitions for the program as shown below.
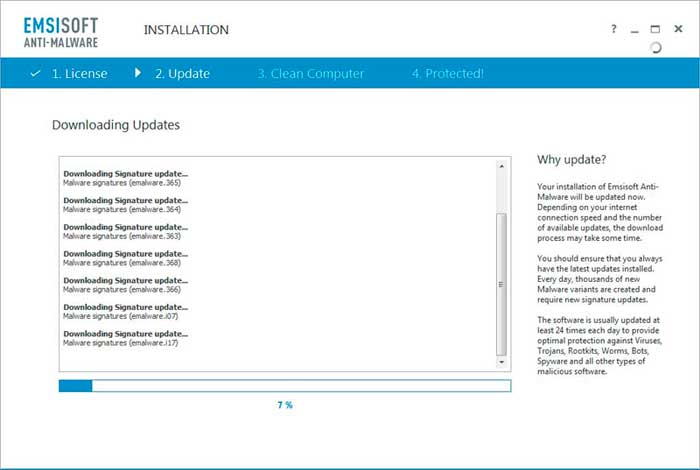
Please be patient as it may take a few minutes for the updates to finish downloading. When the program has finished updating, please click on the Next button to continue.
You will now be at a screen asking if you wish to enable PUPs (Potentially Unwanted Programs) Detection as shown below.
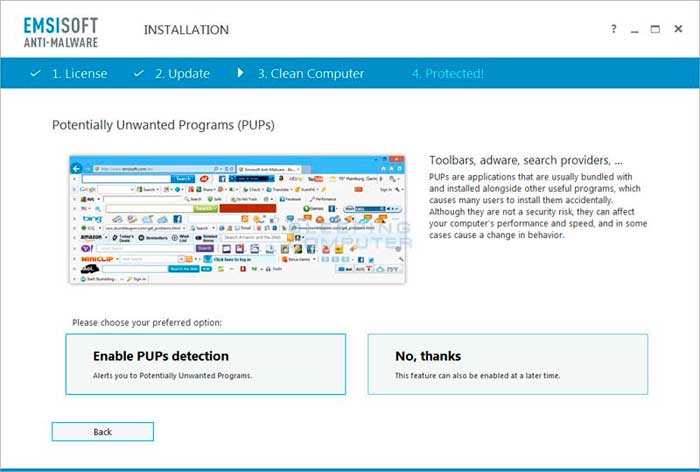
At the above screen it is strongly suggested that you select Enable PUPs Detection to protect your computer from nuisance programs such as toolbars, search hijackers, and adware.
Finally, you will now be at a screen asking what type of scan you would like to perform in order to finish the installation of the program.

At the above screen, please click on the Full Scan button to perform a thorough scan of your computer. In the future you can perform other scan types depending on your requirements.
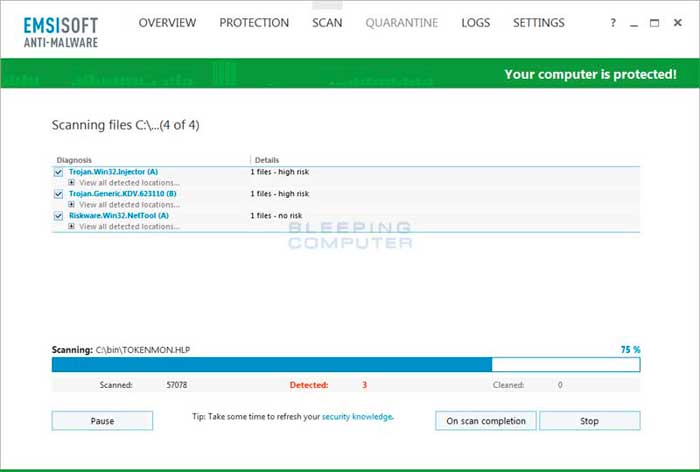
Emsisoft Anti-Malware will now start to scan your computer for rootkits and malware. As it scans your computer, if it finds any malware it will update the scanning Window to list what was detected. Please note that the following image is an example of what the program looks like when it detects malware. When you scan your computer, you will see different items being detected, or hopefully, nothing at all.
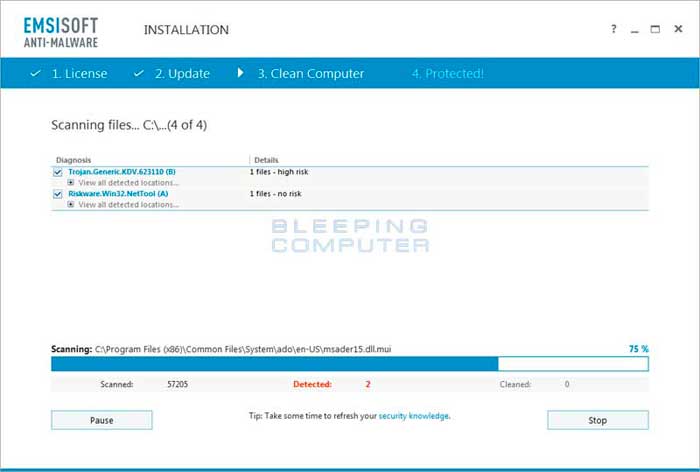
This step scan can take a while, so please be patient while Emsisoft Anti-Malware scans your computer.
When the scan has finished, the program will display the scan results, which show what infections where found.
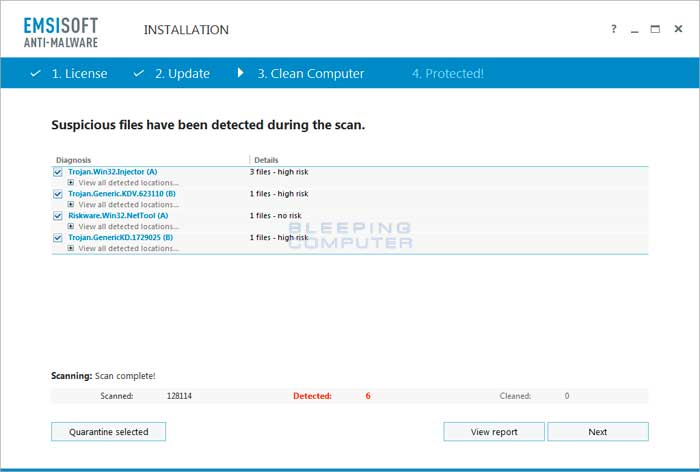
If any malware was found, review the items to make sure that there was nothing detected that should not have been. If everything looks like malware, or you do not recognize the programs or files, click on the Quarantine Selected button to remove them and place them in the program's quarantine. You will now be at the last screen of the Emsisoft Anti-Malware setup program, which you can close. If Emsisoft prompts you to reboot your computer to finish the clean up process, please allow it to do so. The main Emsisoft Anti-Malware program will now open automatically, which we will discuss in the next section.
How to use Emsisoft Anti-Malware to protect your computer
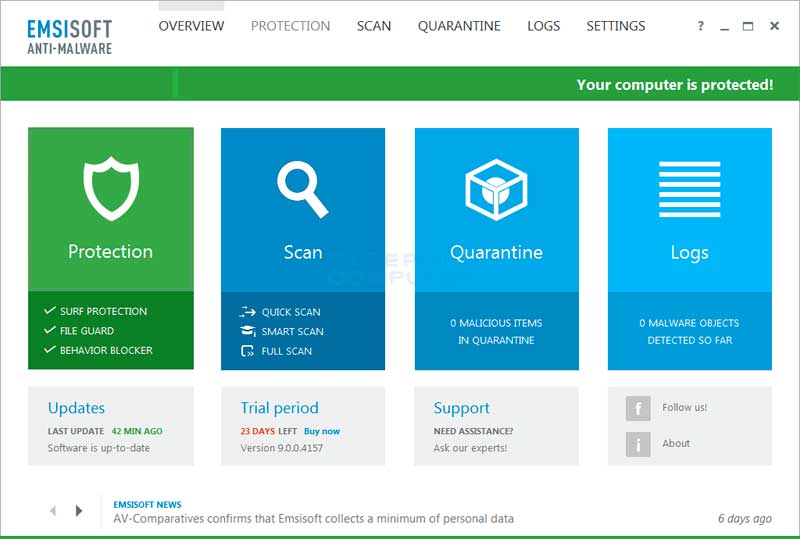
Now that Emsisoft Anti-Malware has been installed and your computer has been scanned for the first time, you will be at the overview screen for the program as shown below. You can also open the program at any time by clicking on the Emsisoft Anti-Malware icon in your Start Menu. The Overview screen provides a summary of various information including how many items have been detected and quarantined. From this screen, and all other screens, you can use the top menu to navigate to the various program's sections. These sections are described below.
At the top of the EAM window is a navigation menu where you can select a particular section to go to. Each of these sections are described below:
Overview Section
The Overview screen as shown in the image above guide gives a quick summary of the various protection methods that are enabled, your license information, and the amount of files that have been detected and quarantined.
Protection Section
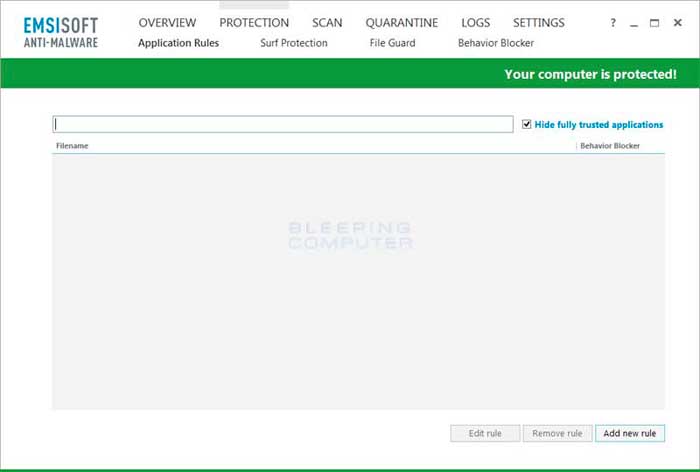
The protection screen allows you to fine tune how you want the various scan engines to operate.
The different configuration sections on this screen are:
Application Rules allows you to add programs on your computer that you wish to block from running, block a program from performing certain behavior, or to allow a program to run that has been blocked.
Surf Protection allows you to manage what sites EAM will block you from visiting. Using this section you can add web domains that you wish to block or whitelist from being blocked.
File Guard allows you to configure the file scanning engine of EAM. You can also use this section to modify the list of file extensions EAM will scan as well as whitelist certain files and folders from being scanned.
Behavior Blocker allows you to configure what different behaviors, such as worm or keylogger activity, will be detected. This section also allows you to configure how EAM will use the Emsisoft Anti-Malware network when determining if a file is malware.
Scan Section
This section allows you to start a new anti-malware scan using EAM. This screen contains four different scan types that you can select, which are described below.
The four scan types are:Quick Scan only scans your running programs and for non-malicious leftover traces from a malware infection. This is a good option to use if you already performed a cleanup and want to get rid of any leftovers.
Full Scan will scan all of the files and registry entries on the computer. This is the slowest scan, but by far the most thorough. If you plan on performing a scan over night or if scan time is not important to you, we suggest you always use this scan method for the most thorough scan.
Smart Scan is the recommended one by Emsisoft as it is faster than the Full Scan, but can still detect almost all infections on your computer.
Custom Scan allows you to configure various scanning options that Emsisoft Anti-Malware will use when scanning your computer. You can use this option to customize how you wish the scan engine to work and what particular malware you wish to scan for.
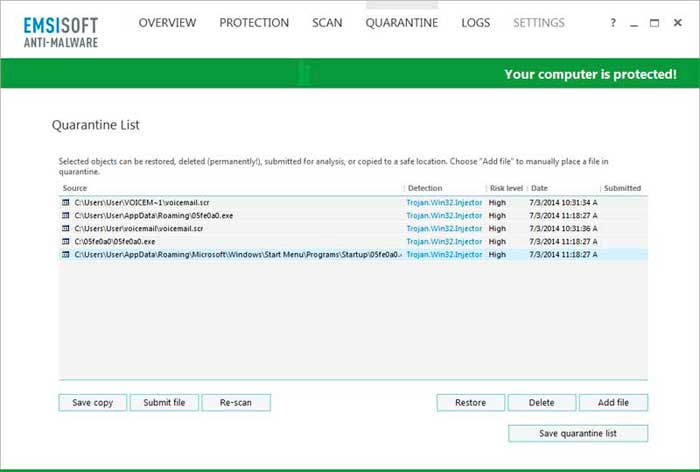
Quarantine Section
The Quarantine section allows you to see the files that were detected as Malware or PUPs, removed from your computer, and added to EAM's quarantine.
From here you can re-scan a file to see if updated definitions modified its detection, delete it from the quarantine, or restore it back to it's original location on your computer.
Logs Section
The Logs section contains logs of all the activity for the Surf Protection, File Guard, Behavior Blocker, Scan, Quarantine, and Update engines.
Settings Section
This section contains settings on how EAM should integrate into Windows or other basic settings.
Now that you know how each of the sections of Emsisoft Anti-Malware work, you can customize the program to best suit your needs. If you have any questions regarding how to use this program, please feel free to ask in our dedicated Emsisoft Anti-Malware Discussion Topic.
Frequently Asked Questions regarding Emsisoft Anti-Malware
Below are some common issues you may run into when attempting to install, upgrade, or use Emsisoft Anti-Malware:
How to enable the freeware mode in EAM:
Emsisoft Anti-Malware is entirely free if you just want to use it to scan for and remove infections. Unfortunately, with version 9.0 there is no apparent way to get it into freeware mode. Instead when you install the program, select the 30 day free trial and when the trial is over it will automatically revert to freeware mode.
Your Emsisoft Anti-Malware license disappeared after upgrading to 9.0:
There is a known issue that when upgrading to Emsisoft Anti-Malware 9.0, your license may disappear after the upgrade. To resolve this, simply uninstall EAM and reinstall it. Then add your license information like normal to license your copy.
Emsisoft Anti-Malware wont start:
If you are unable to start EAM, then it is possible that you are infected with malware that is blocking it from starting. To terminate malware that may be preventing EAM from starting you can download the Rkill program and run it on the infected computer. Rkill, under various names, can be downloaded from the following link:
Once Rkill runs, it will create a log of what applications were terminated. You can then attempt to run or install EAM again.
How you can you restore an item from the quarantine?
If you wish to restore a file that was quarantined, you can do so by clicking on the Quarantine option at the top of the program screen. Once you go to this screen you will see a list of all the files that have been quarantined by EAM. To restore a file, simply single click on the particular file so it becomes highlighted and then select Restore.
How do you scan a particular file or folder with Emsisoft Anti-Malware?
If you wish to only scan a particular folder or file, you simply right-click on the file/folder you wish to scan and select Scan with Emsisoft Anti-Malware.
How do you exclude a file or folder from being scanned by Emsisoft Anti-Malware?
If you wish to exclude a particular file, folder, or process from being scanned you need to add it to the program's whitelist. To do this, click on Protection at the top of the program and then select the File Guard sub option. On the screen that appears, click on the Manage whitelist button. This will open the whitelist where you can add files and folders and specify what scanning engines it should be excluded from.
